Dell Monitor
My New Monitor
I just upgraded my PC setup with a new monitor! The top specs/features on my wish list were:
- 1440p or higher resolution
- High refresh rate (144hz)
- 1ms response rate
- G-sync
Browsing around, mainly on the internet, I found that G-sync monitors were expensive! It wasn’t too hard to find counterpart AMD Freesync ones that were $100+ cheaper. I ended up with the Dell S2716DGR.
Dell S2716DGR
The Dell is touted as a budget 1440p 144hz G-sync gaming monitor and reasonably so. It’s a 27-inch TN panel with 2560x1440 native resolution. In addition, it comes with Nvidia’s G-sync support for tear-free gaming.
I got it new off Ebay for $390 without a hitch. I think if you were considering on buying it around its current brick-and-mortar price, ~480, I would pass (especially since it can be done for 100 dollars cheaper).
It’s a great monitor but requires a bit of calibration and potential G-sync setup.
Monitor Settings
Out of the box, I reset the monitor to factory settings in case something was left changed from the factory; I wanted a clean slate.
On my MacOS Hackintosh side of my dual-boot computer, I was appalled at the default color profile which had a heavy green cast, but more on that later.
Switching to my Windows drive, it was a little better but could use some improvement. After fiddling with my old Spyder3 colorimeter, I had trouble getting the calibrated color profile to “stick”. Every time I exited the application, my profile would revert to the Windows default. After referencing online tutorials on loading user profiles as a default, I still had an issue with gamma. Ultimately, though, I got the calibration to work. Here’s my monitor hardware settings:
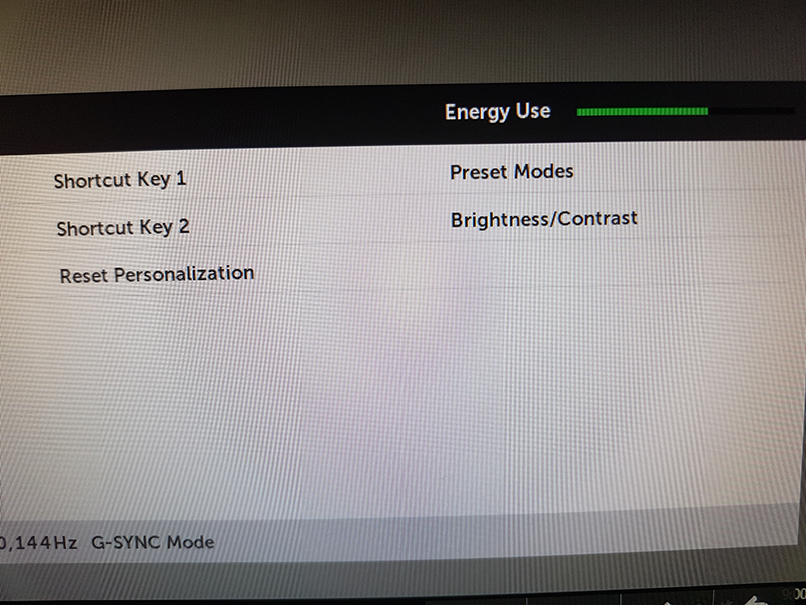
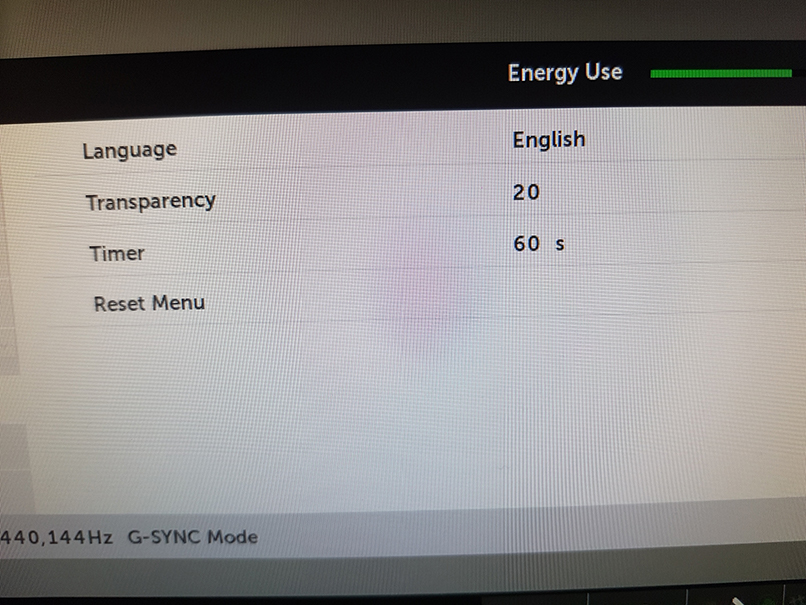
Before starting, I modified menu shortcuts and menu timer. This allowed for easier access to the brightness/contrast control and increased time not pressing buttons before the menu would disappear.
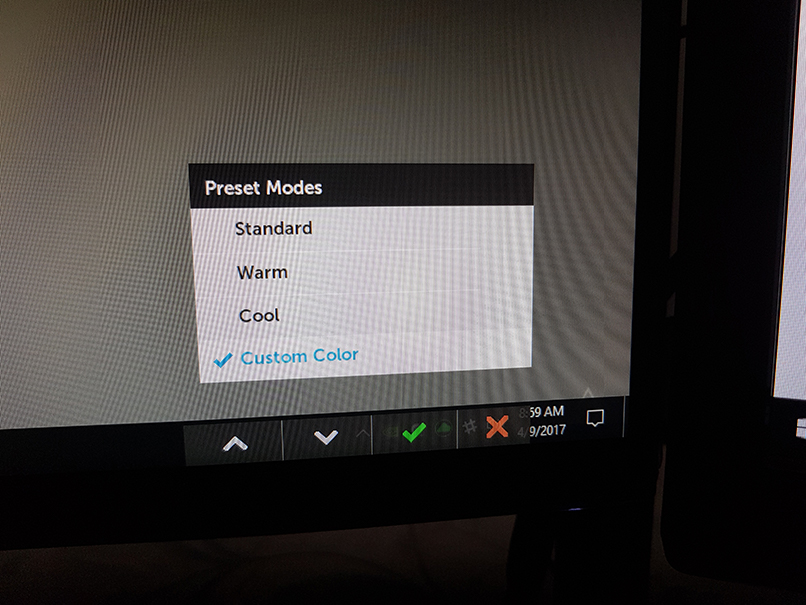
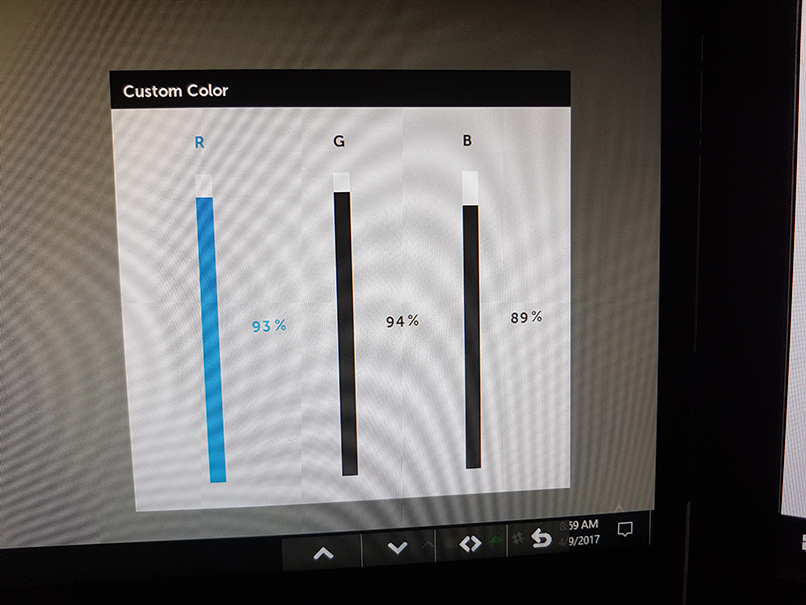
Here is a recommended setting by me of custom color settings on the monitor. In order to manually tweak the color, I had to select “Custom Color” from the menu. I found my setting to provide neutral grays but will vary based on the specific monitor you get (even though it’s the same model).
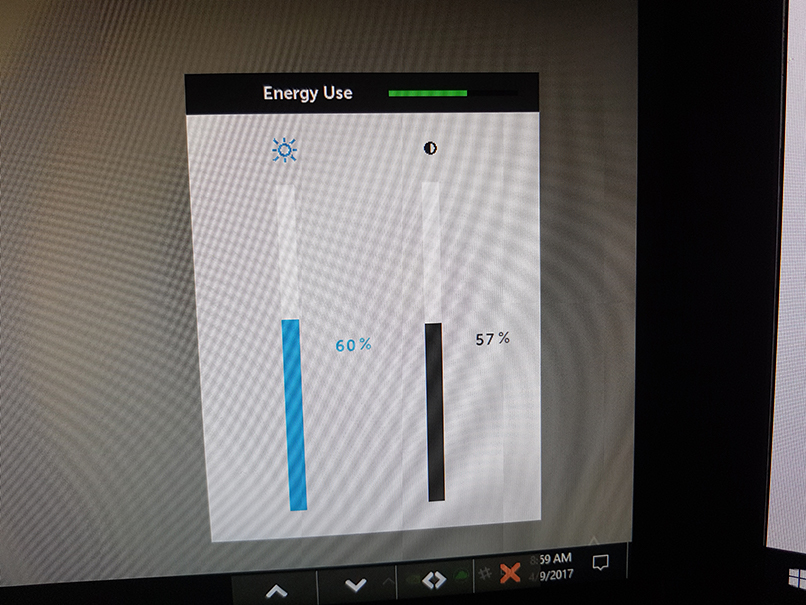
Since my ambient lighting is moderately low, I opted to set my monitor brightness and contrast to achieve a White Luminance of 125 cd/m^2 and a black level that wasn’t too washed out (as TN panel’s are known for vs IPS).
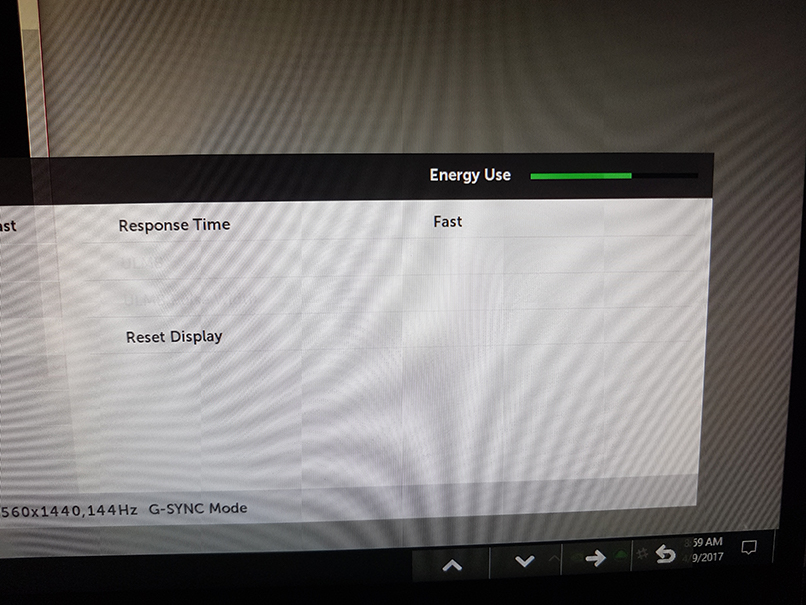
In order to achieve 1ms response time, I adjusted the response time to fast.
Windows Settings
After these tweaks, I had to adjust the gamma to be way higher (inverse on slider). In the Windows color calibration settings, this was pretty easy, just pulling down the slider almost to the bottom.
G-sync Setup
I did have an issue with G-sync not showing up in the Nvidia control panel. Even after updating to the latest version (I think I was one behind), I wasn’t seeing the corresponding menus:

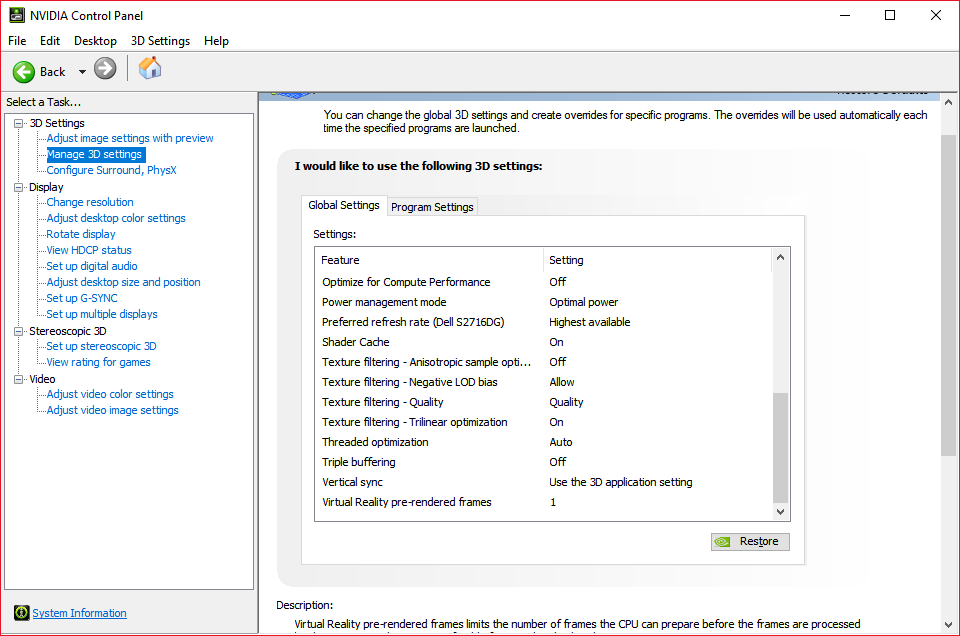
What got it to work was turning on global V-sync and restarting my computer. However, after I was forced to reset the CMOS on my motherboard (due to an unrelated issue), G-sync appeared as normal. Go figure.
MacOS Hackintosh Side of Things
On my MacOS drive, it was actually quite simple to do color calibration to get rid of the default green cast. When opening up the Displays window from System Preferences, all I had to do was go to the Color tab and hold Option while clicking Calibrate. The MacOS calibration application is great.
Closing
I think this monitor is a great buy if you have a recent 9 or 10 series Nvidia card and want G-sync. Although there is some setup involved (but all TN monitors probably do), it’s a great performing monitor and the color isn’t bad after calibration.
Watch out for my next writeup on hardware, as I’m getting a GTX 1070 soon!